If you live in the Northern Hemisphere during the Spring of 2020 and you are a parent of a school-aged child, then we likely have something in common: you’re home-bound and so is your child. The COVID-19 pandemic has hit your country as can be seen in the John Hopkins Coronavirus map.

You probably heard of terms such as “social distancing” or more accurately “physical distancing”. You are certainly wondering when will your child go back to school?
Every morning, my seven year old face-times his grand-parents, desperately trying to fight the social distancing seemingly imposed on him in preference for the social interfacing he distinctly prefers.
It occurred to me, if I’m able to effectively collaborate with my colleagues and customers leveraging Microsoft Teams, why couldn’t my son use these very same tools to reach out to his friends and teachers?
Unfortunately, his school has no permanent IT staff and has limited resources. So I spent the last few nights and the weekend to setup and configure Office 365 Education A1 for my son’s school.
In this post showcased on Microsoft Premier Developer, I will go through the broad strokes of setting up Office 365 Education. As a useful prerequisite, I purchased a domain name for the school for 2 years and donated it to the school. This will allow the teachers and students to use usernames such as teacher@yourschool.education or student@yourschool.school instead of teacher@yourschool.onmicrosoft.com or student@yourschool.onmicrosoft.com.
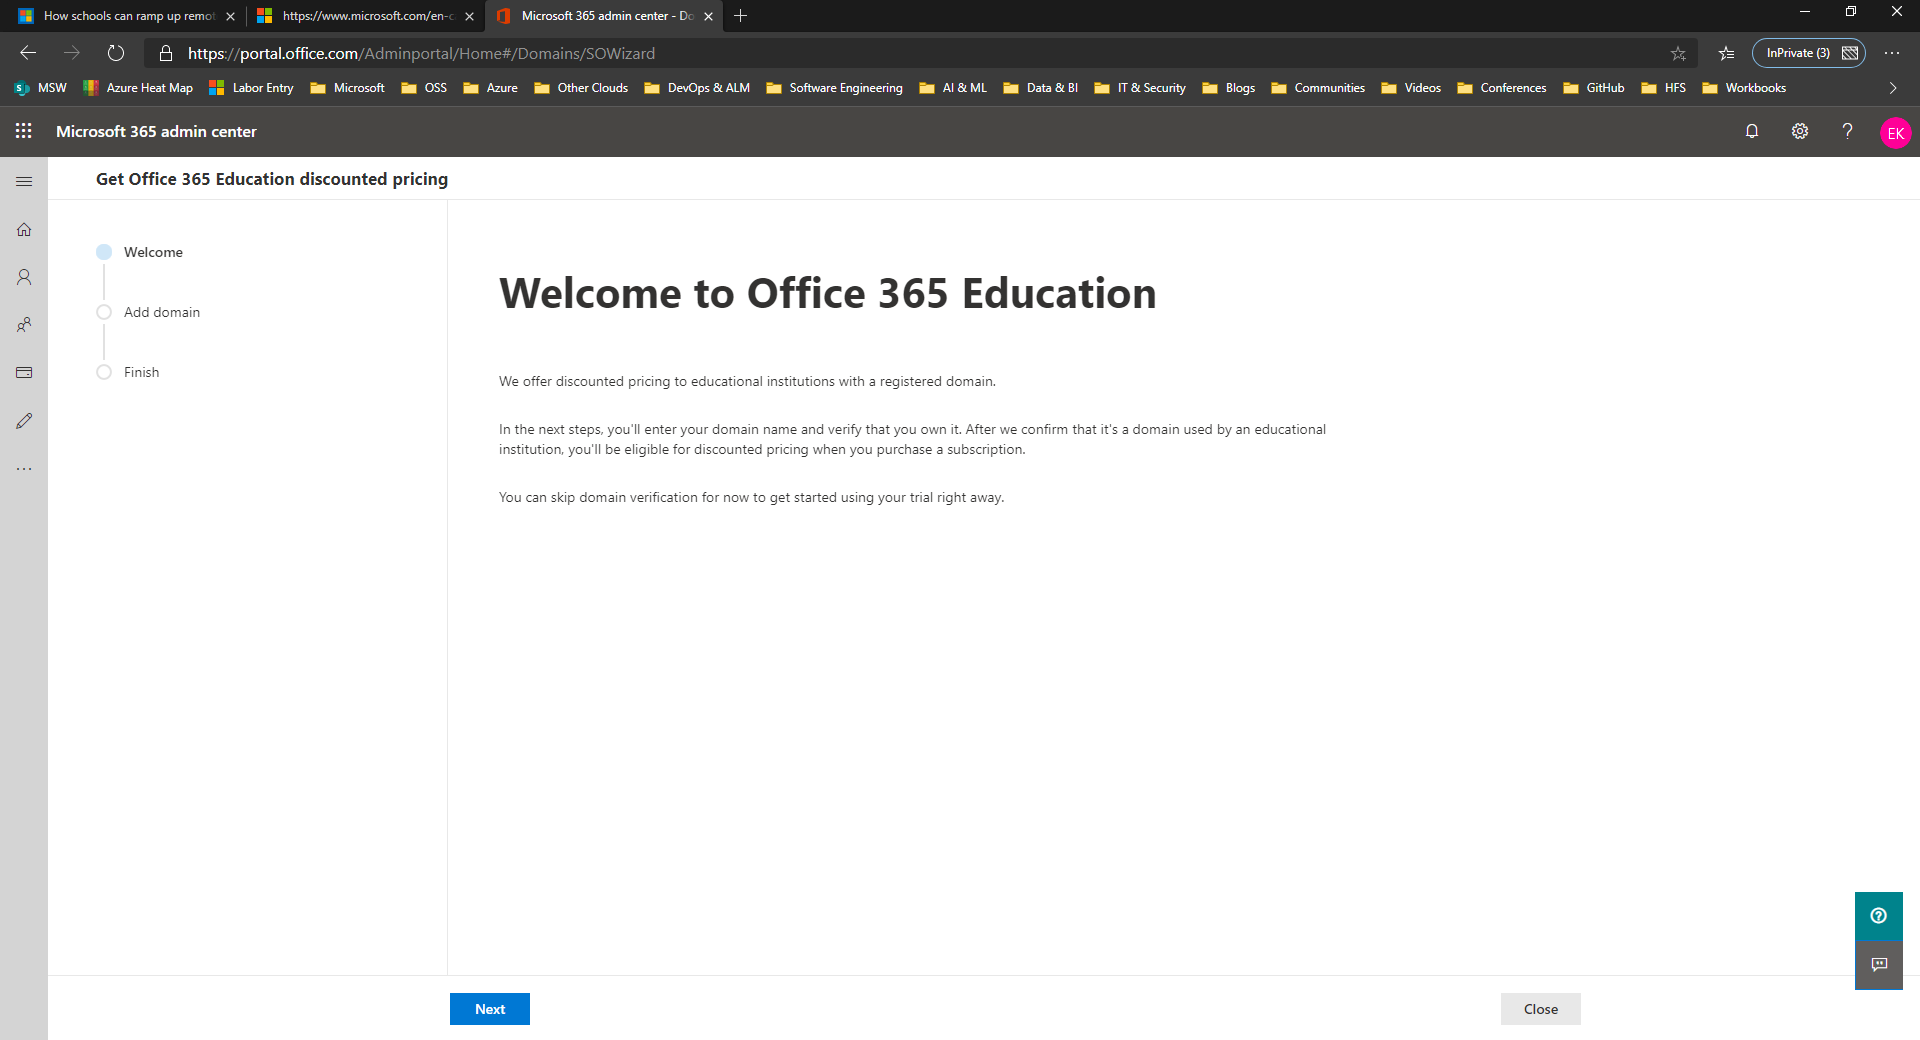
The starting point is the Office 365 A1 trial sign up page.
Go ahead and Create a new account. This will be the first Microsoft 365 admin. As a general security best practice, it’s always wise to have 2 administrators.

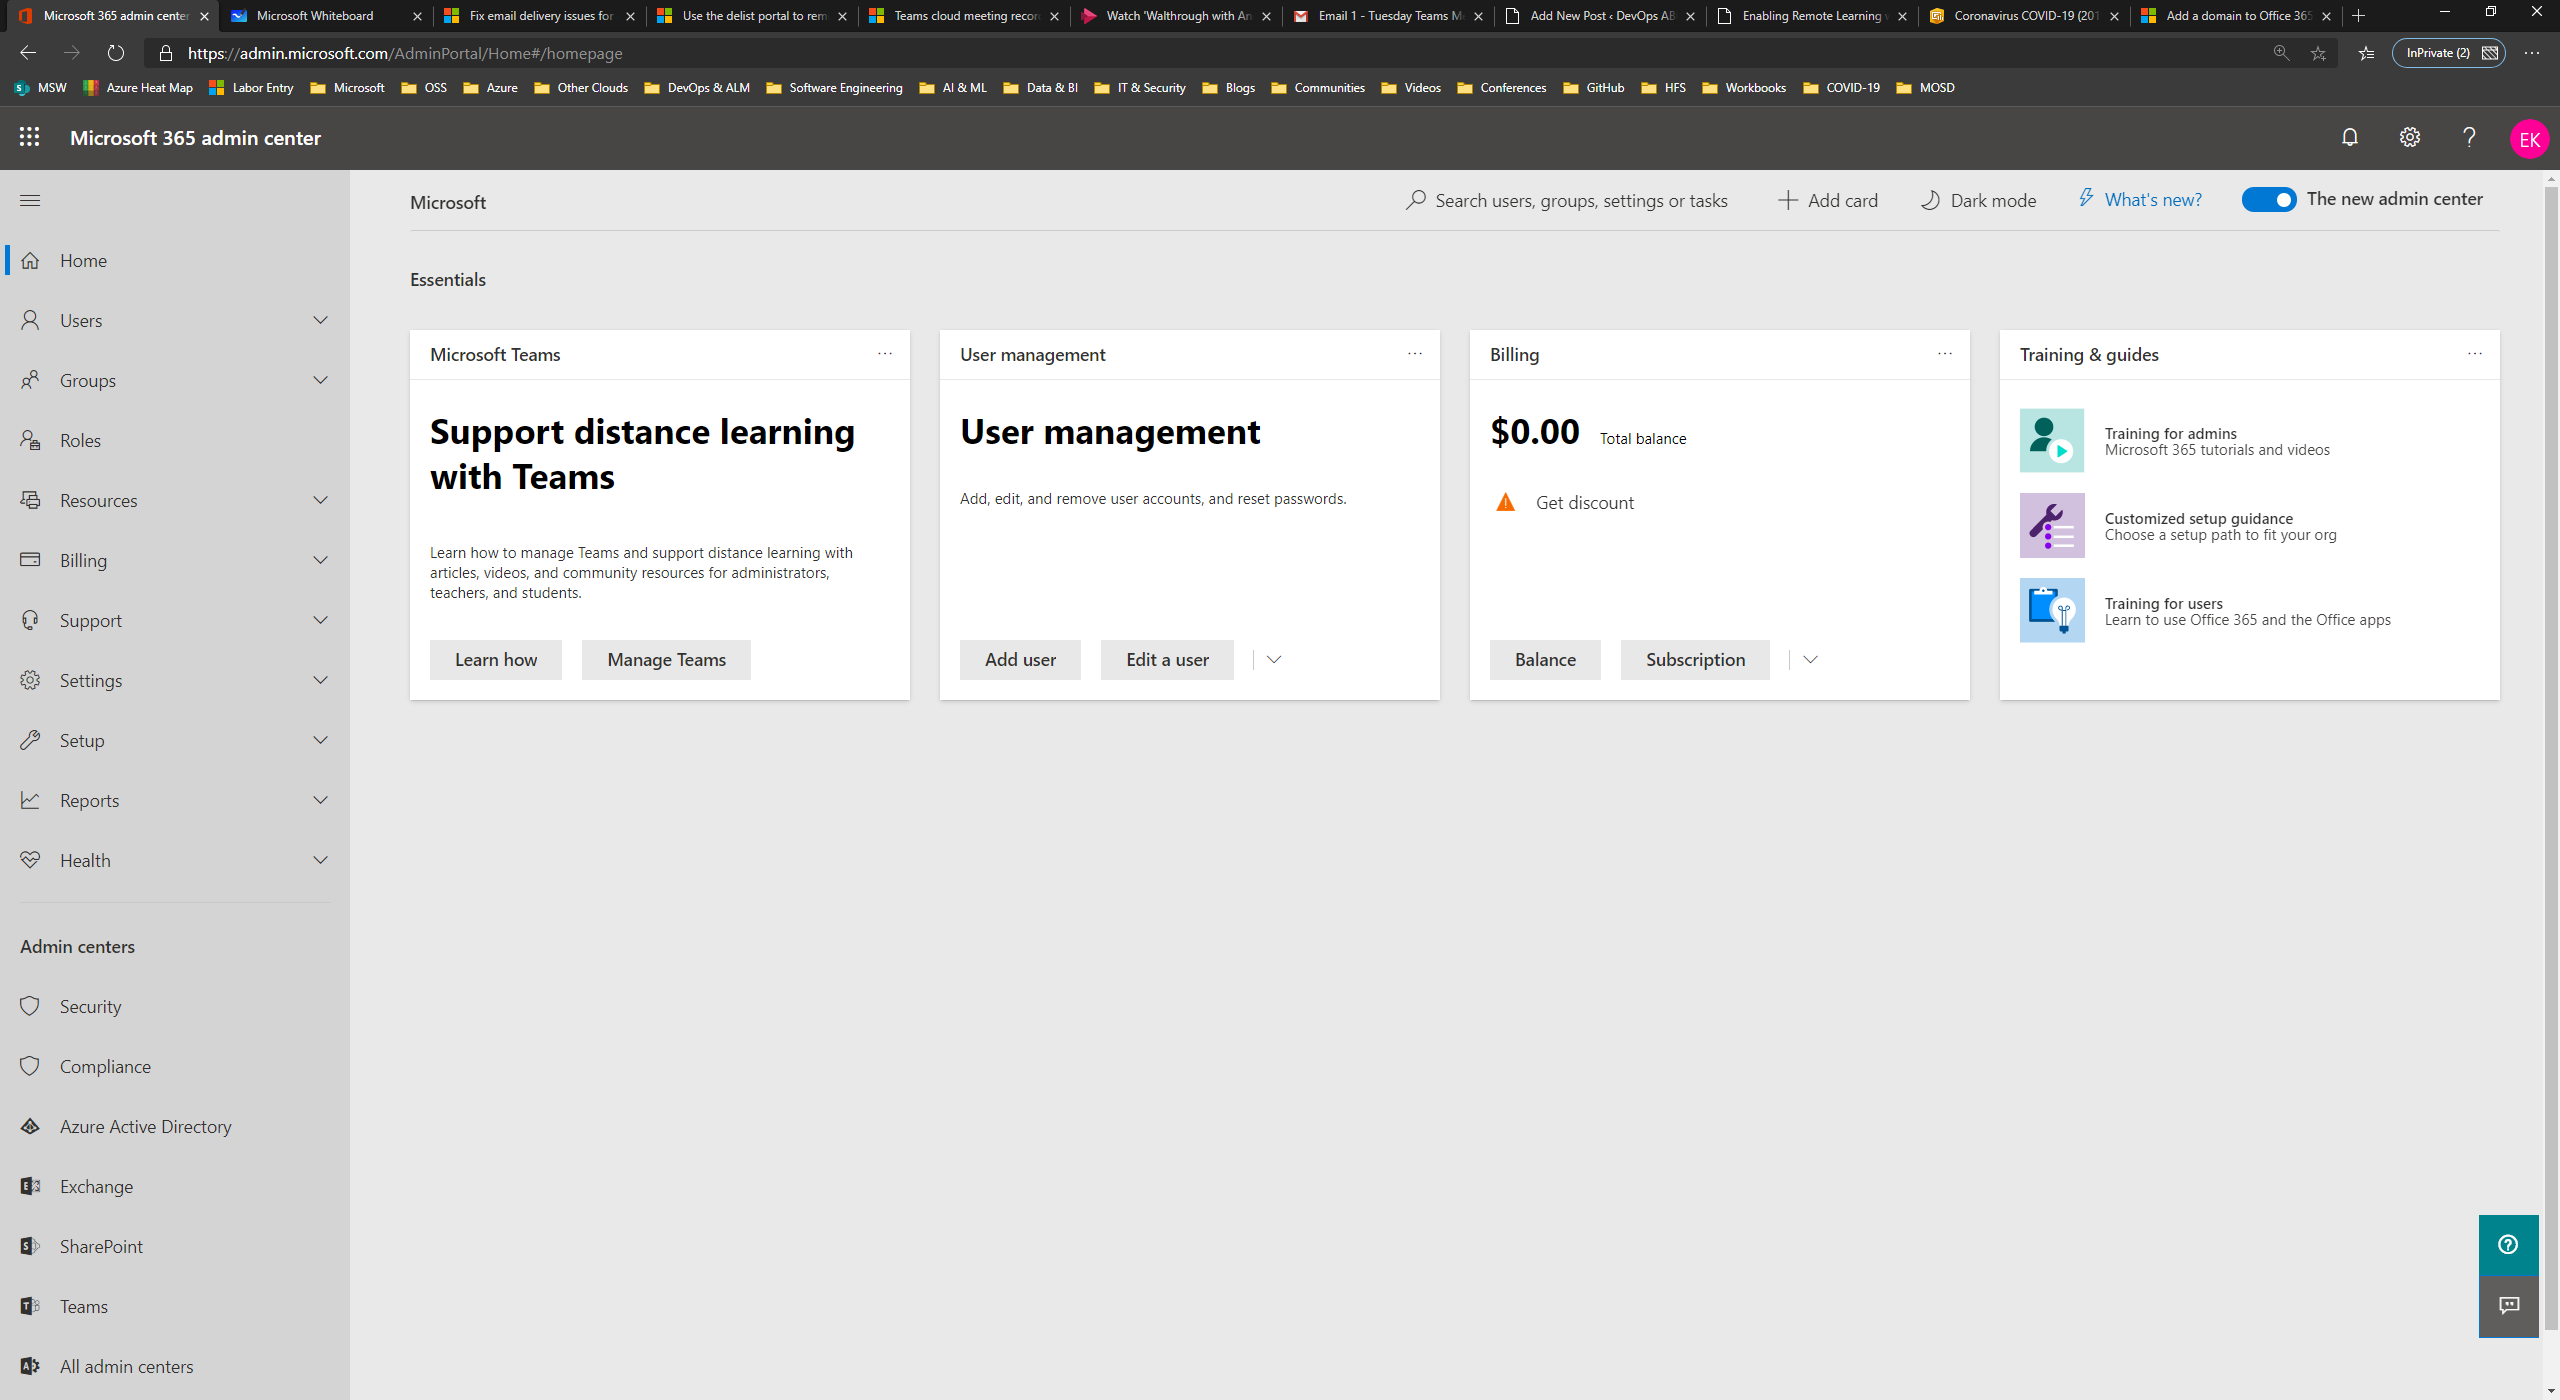
Once the first admin account is created, you should setup your domain by following the steps here.
Once the domain is added, the Microsoft 365 admin center looks like this:

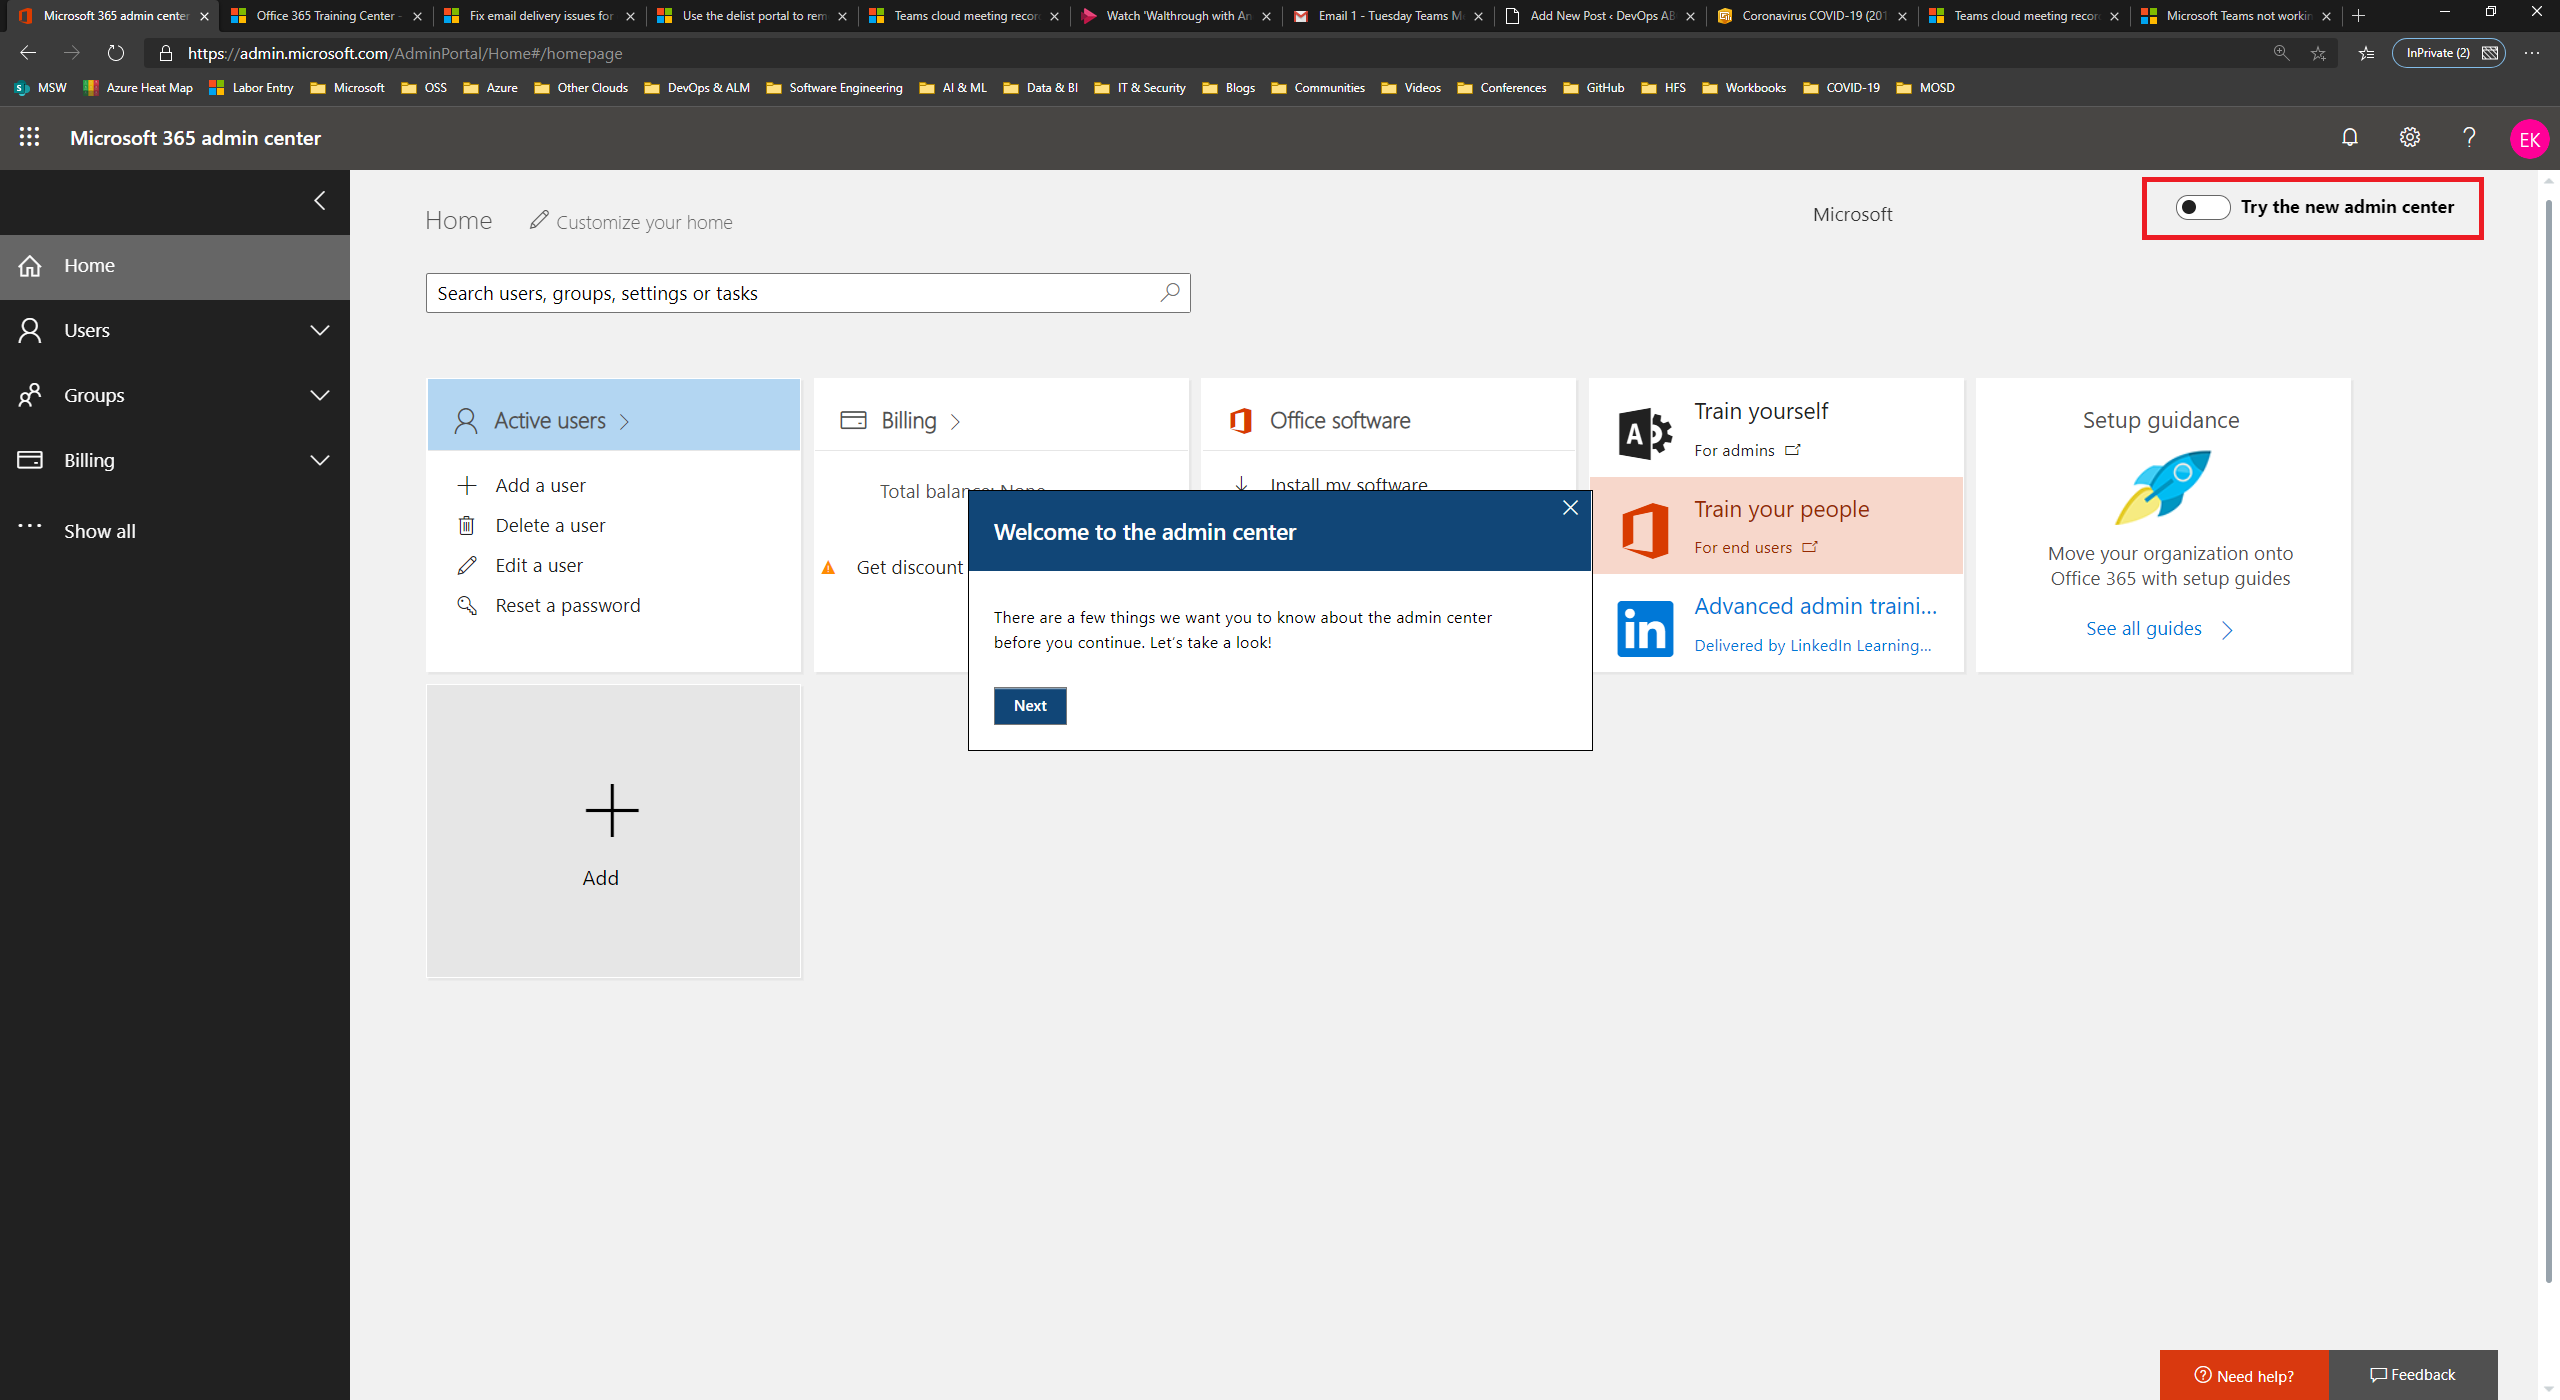
Clicking on “Show All” on the left pane opens up much more options:
You can follow the documentation and guides listed in the rightmost tile. The links can also be found in the References and Resources section at the end of this post.
By and large, the default settings are a great start. There were however two options I needed to enable:
- By default, students can’t use the Teams app until it is enabled in the classic admin interface
- My youngest son is deaf. He uses Cochlear implants in order to hear and is in a special oral school for the deaf. Leveraging the live captions in Teams meetings is essential. In addition, turning “Allow Transcriptions” on in the Global Meeting Policy is extremely useful.
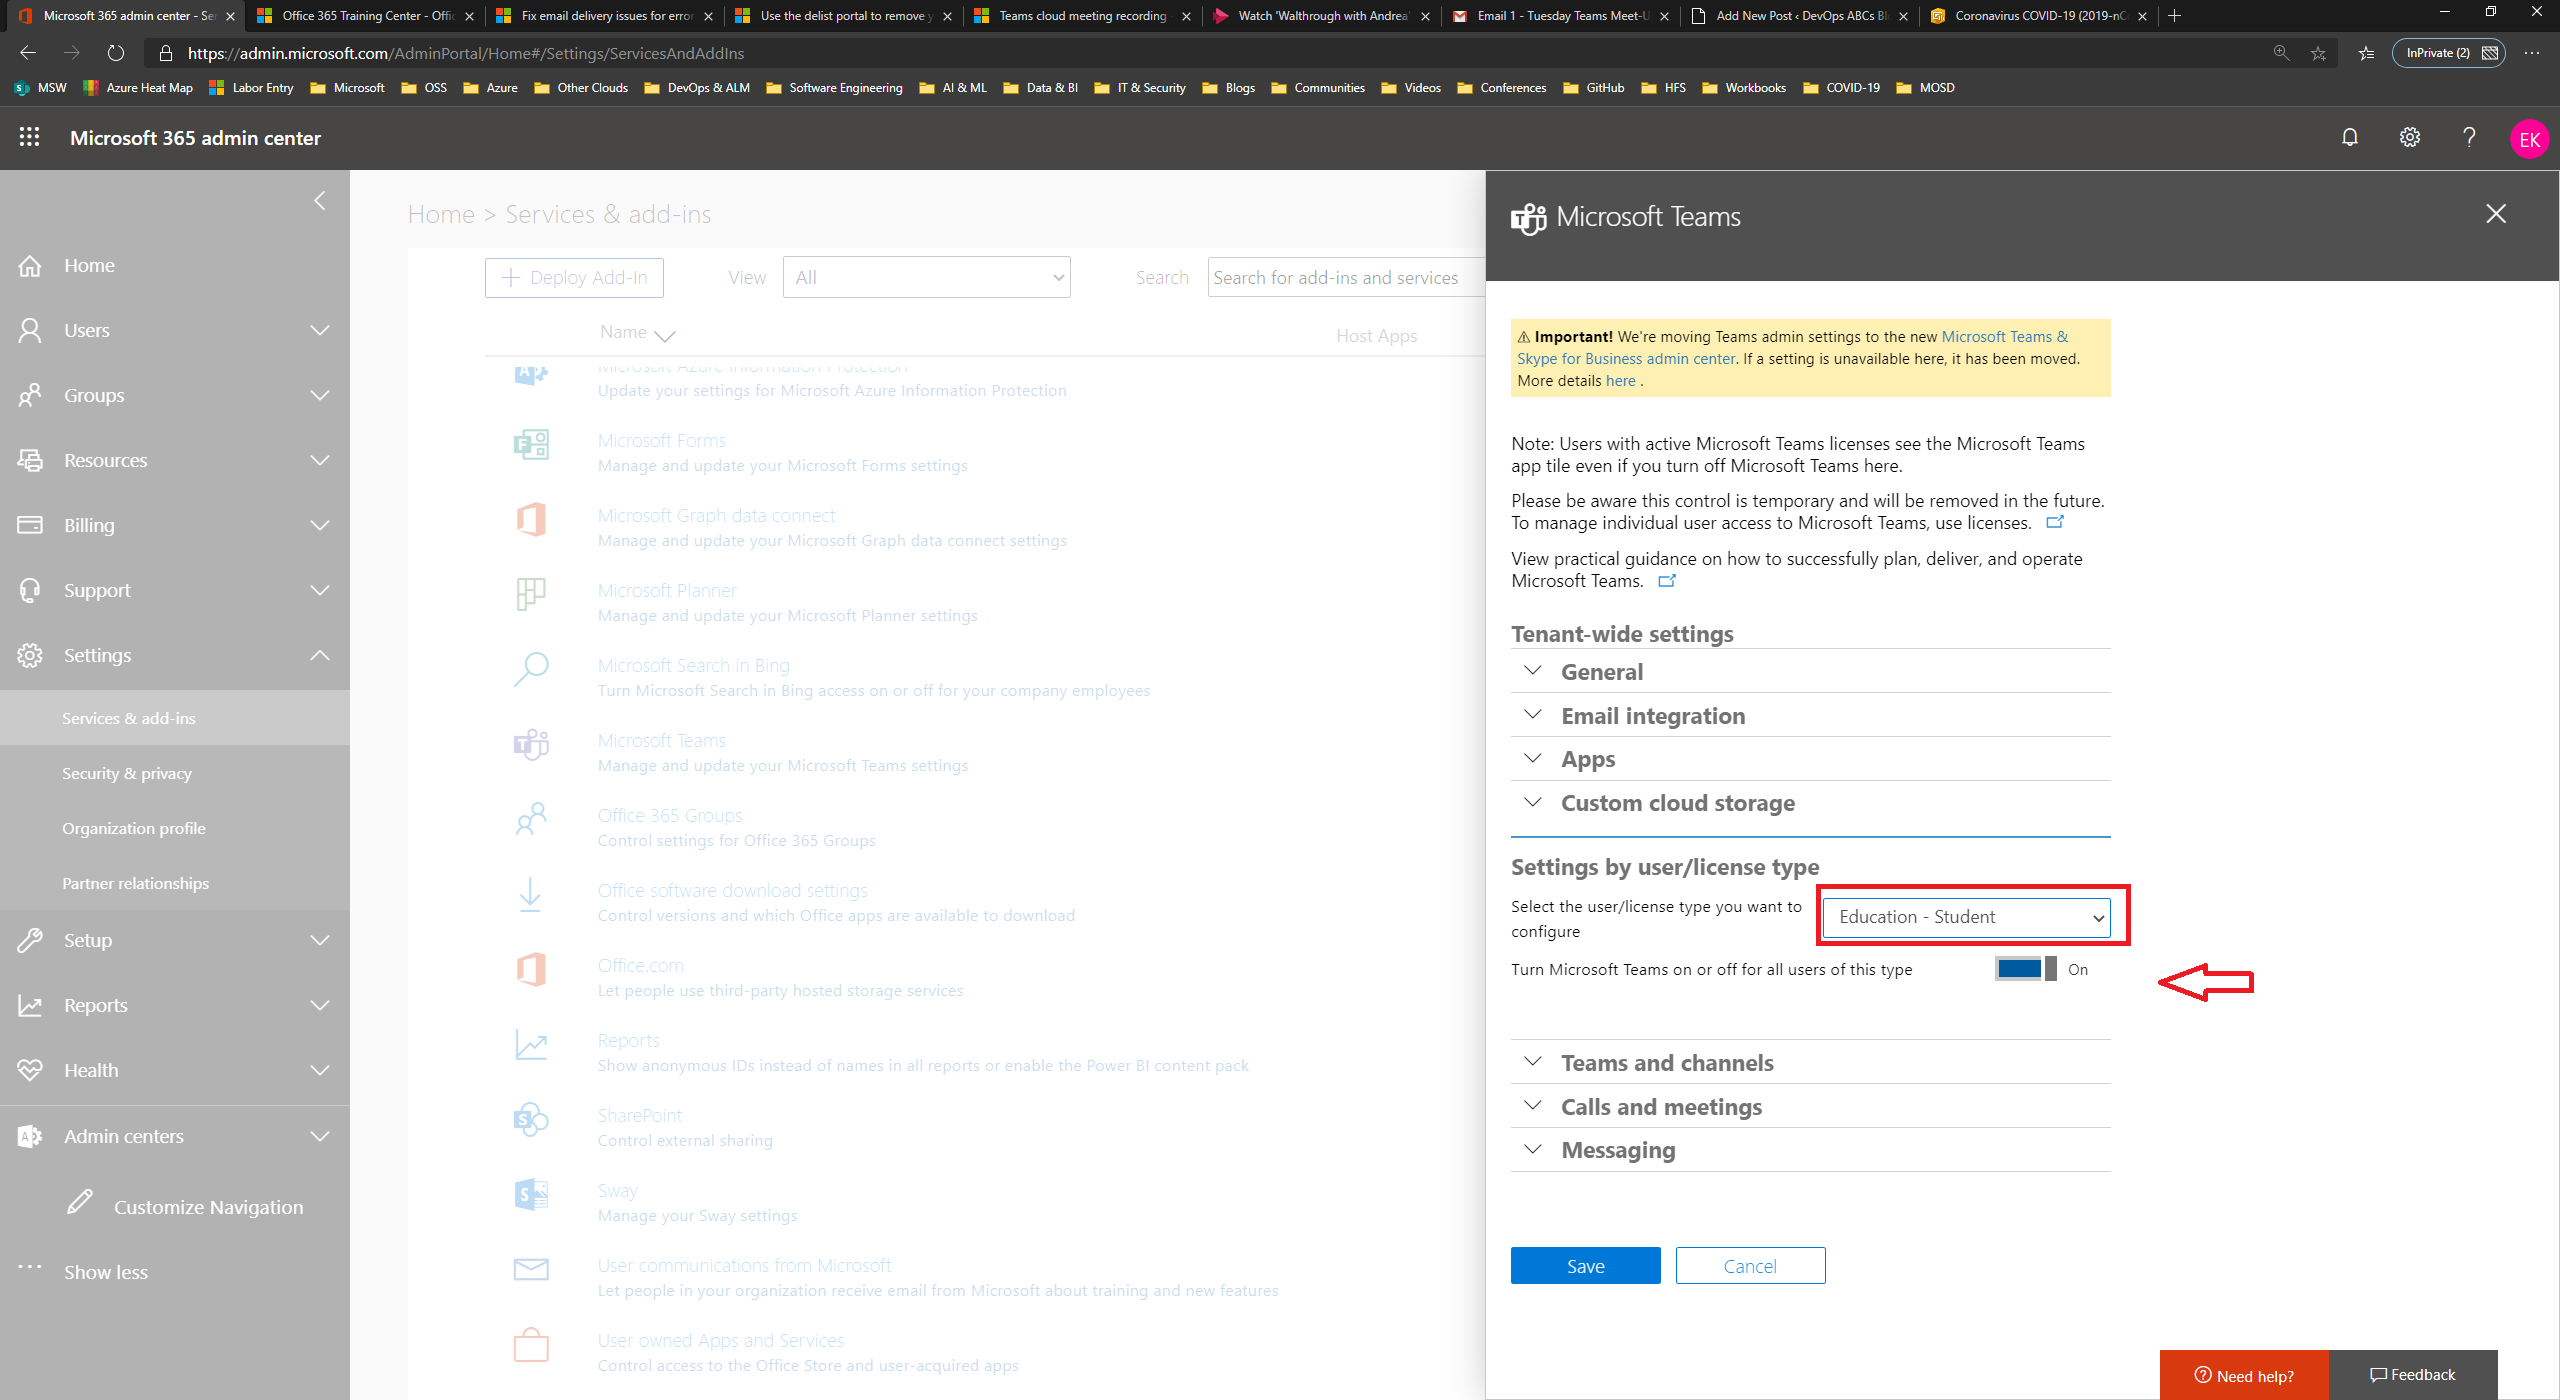
Enabling Teams app for Students
First, go to the classic admin by toggling off the new admin center on the top right
Next, go to the services and add-ins and select “Microsoft Teams”
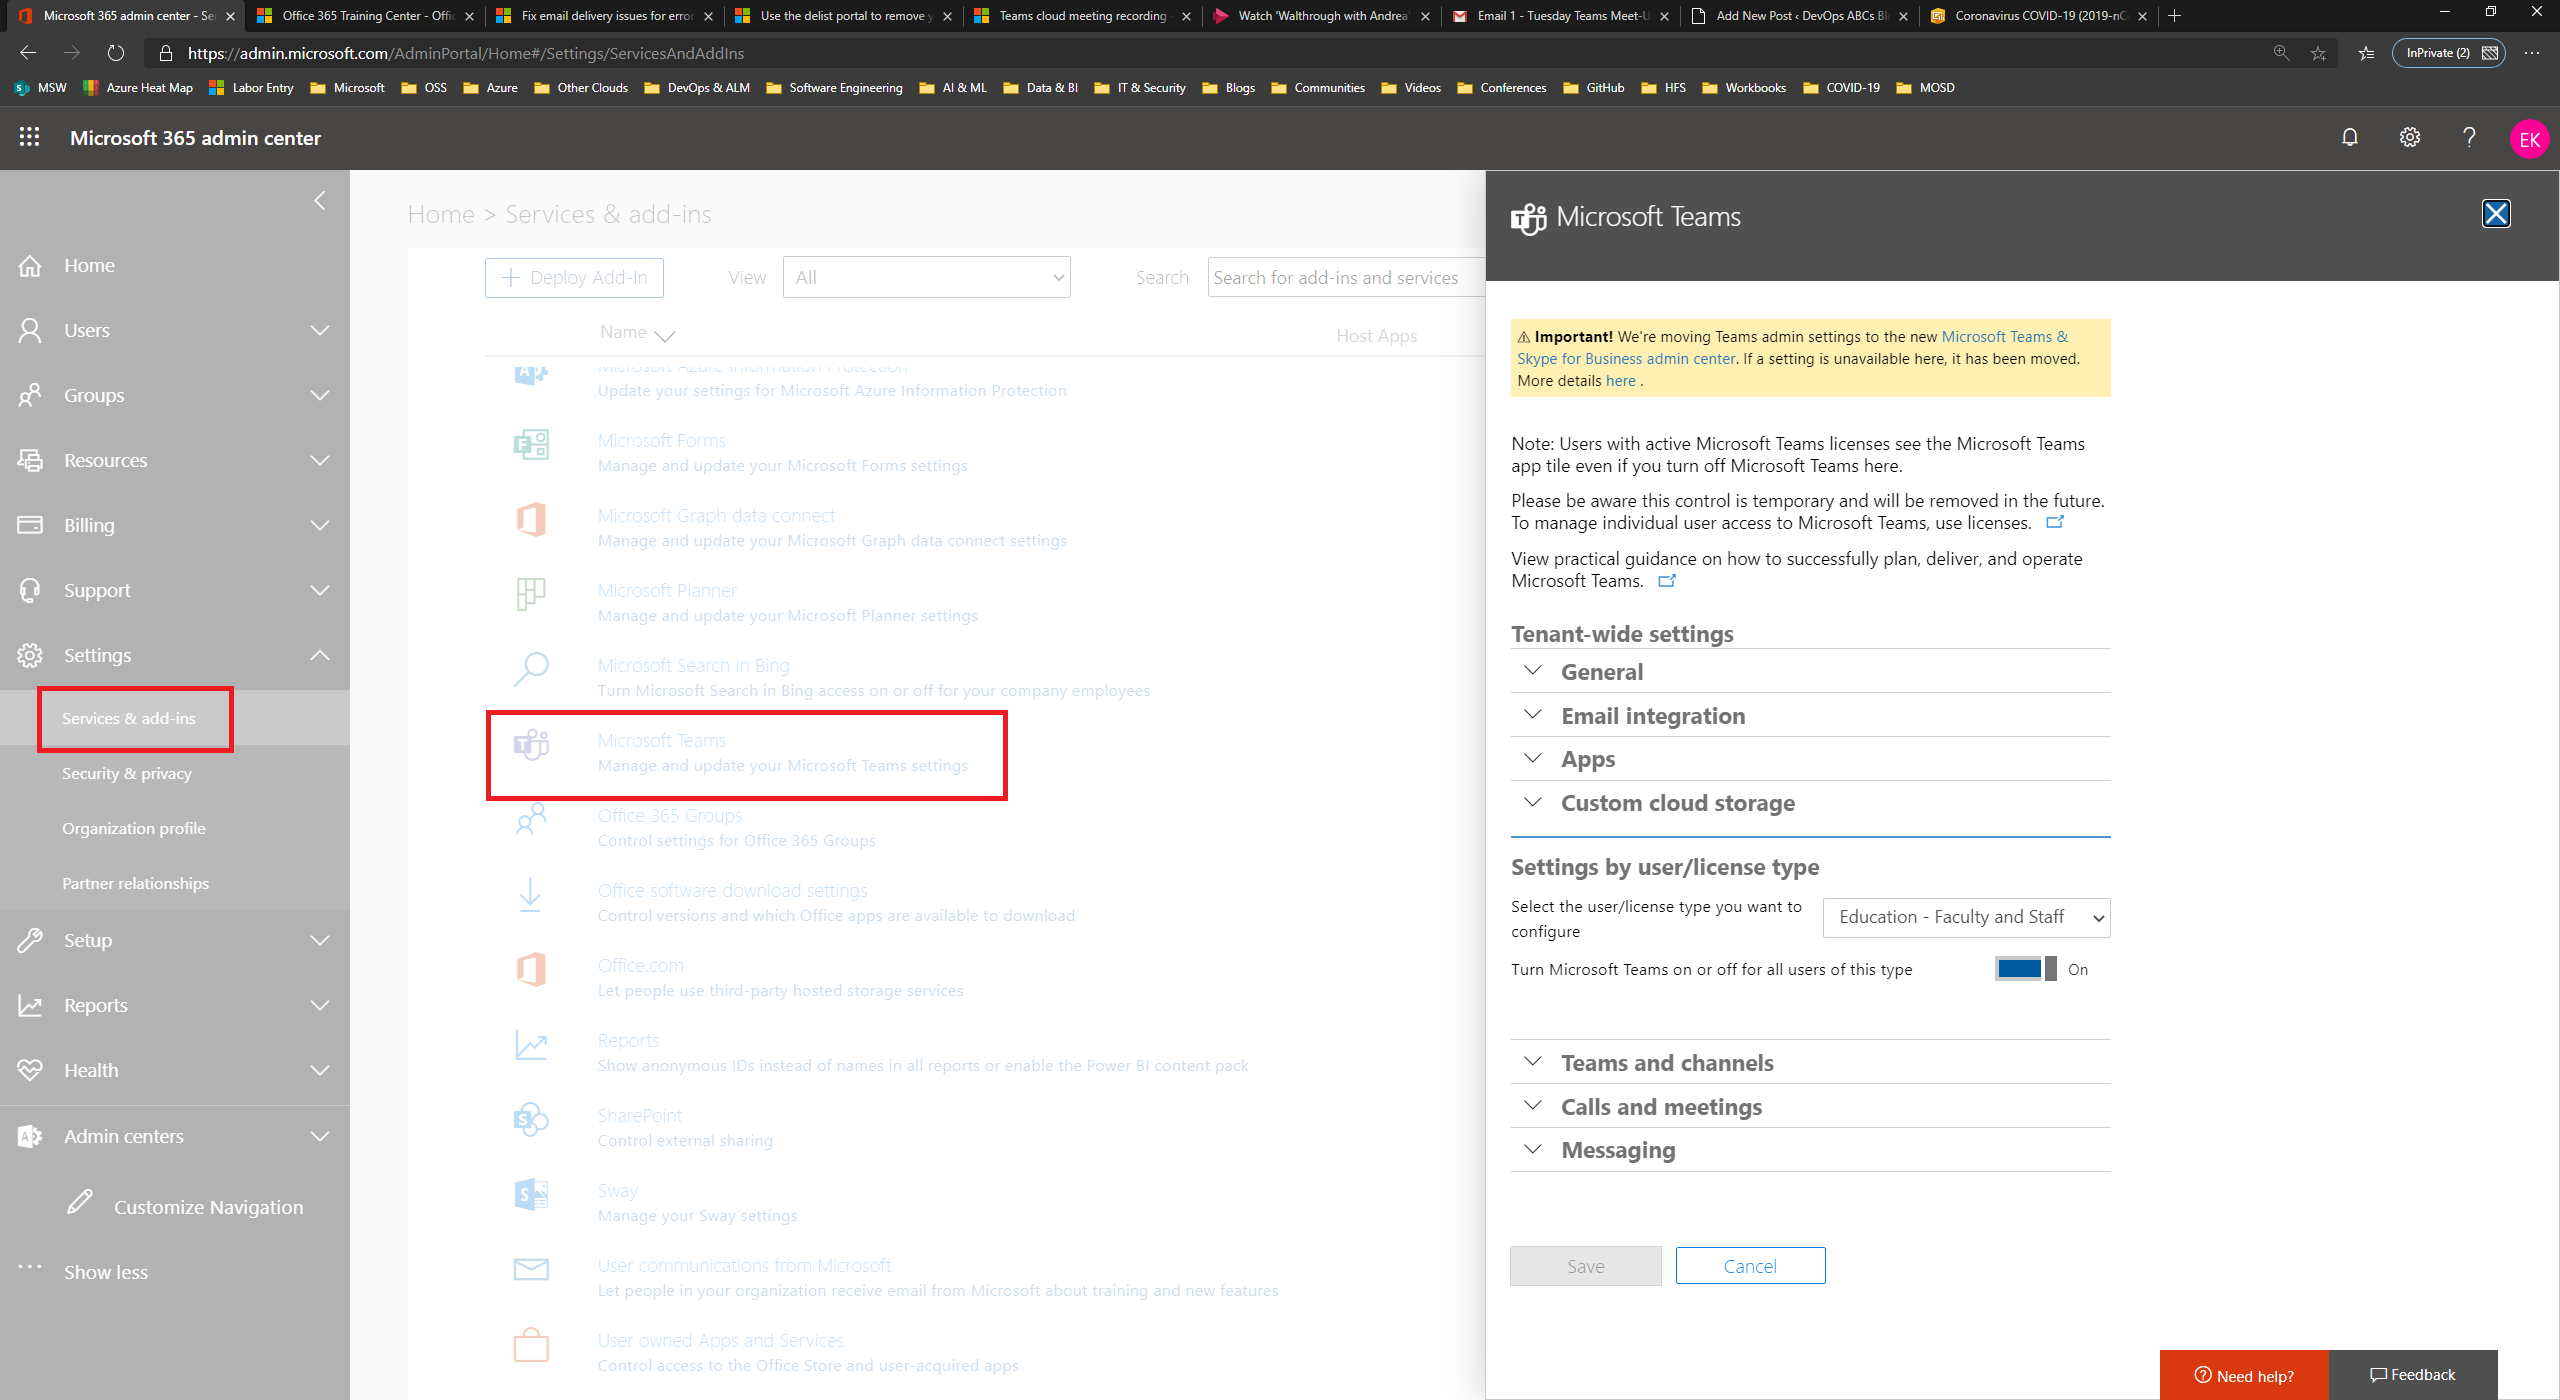
And finally, pick “Education – Student” in Settings by user/license type and ensure the Toggle is On.
Don’t forget to re-enable the new admin center as it is much better!
Empowering Teachers and Delighting Students
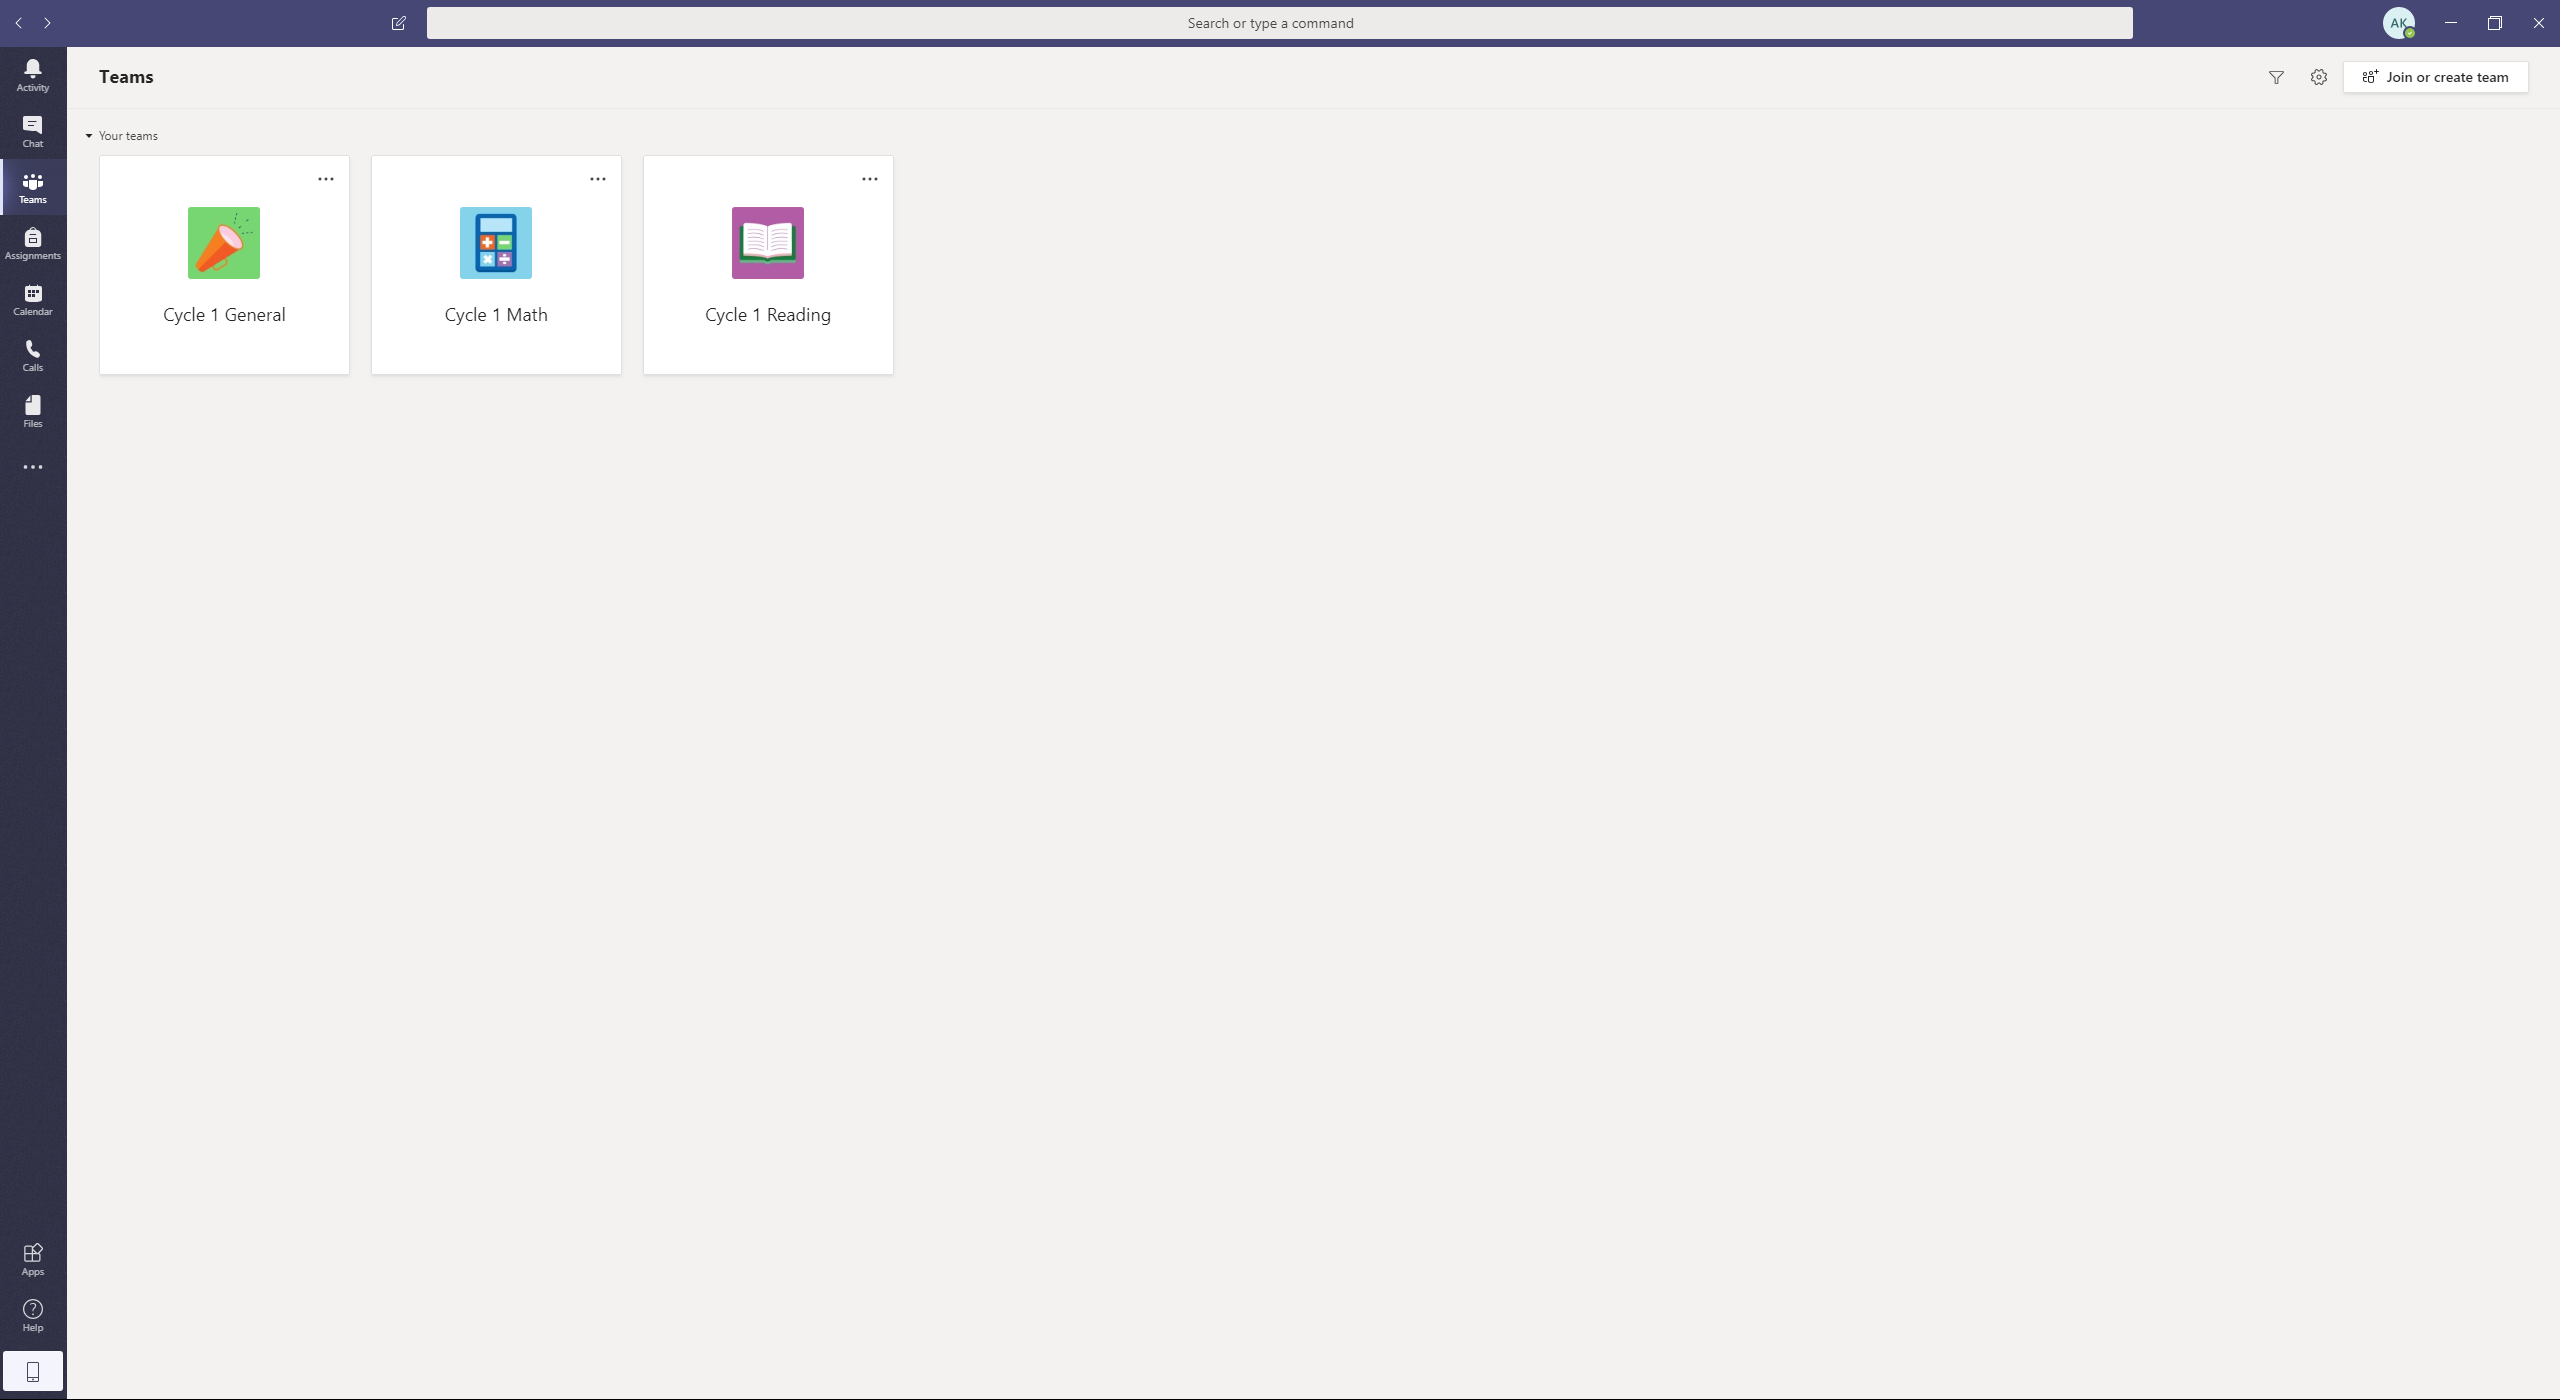
The teachers felt empowered with Microsoft Teams for Education. They were quickly able to create classes:
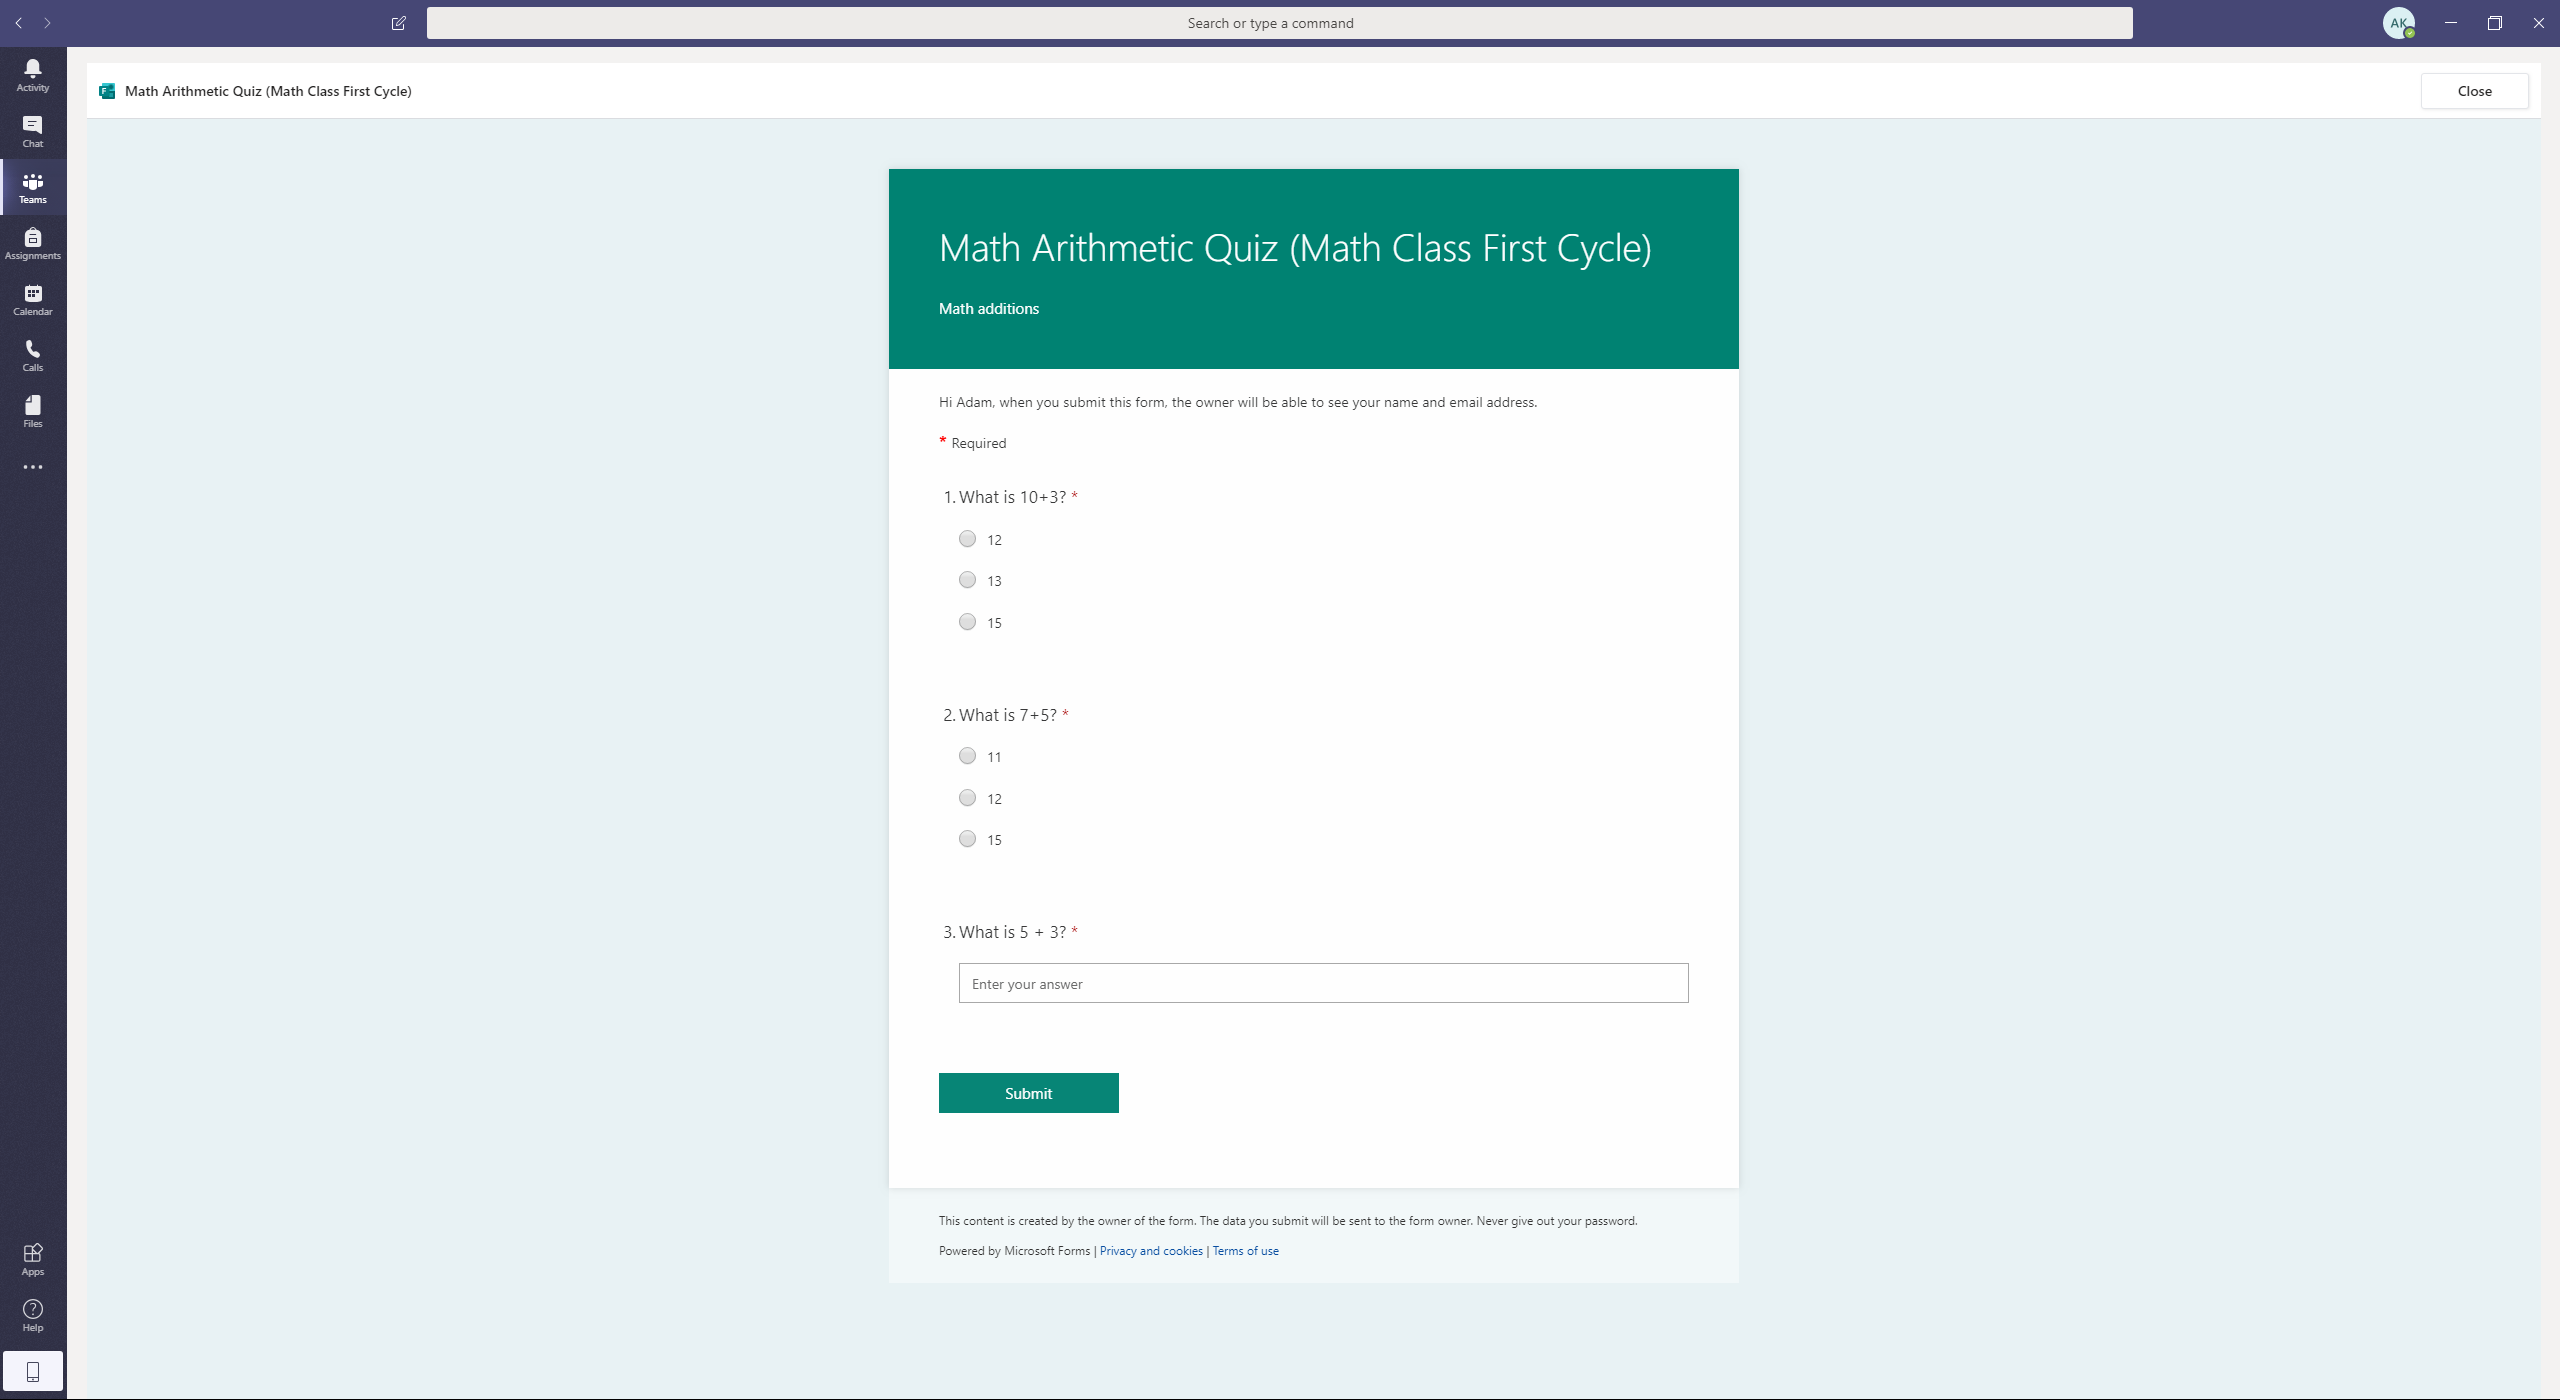
Quizzes and Assignments (to the joy of the students) leveraging Microsoft Forms:
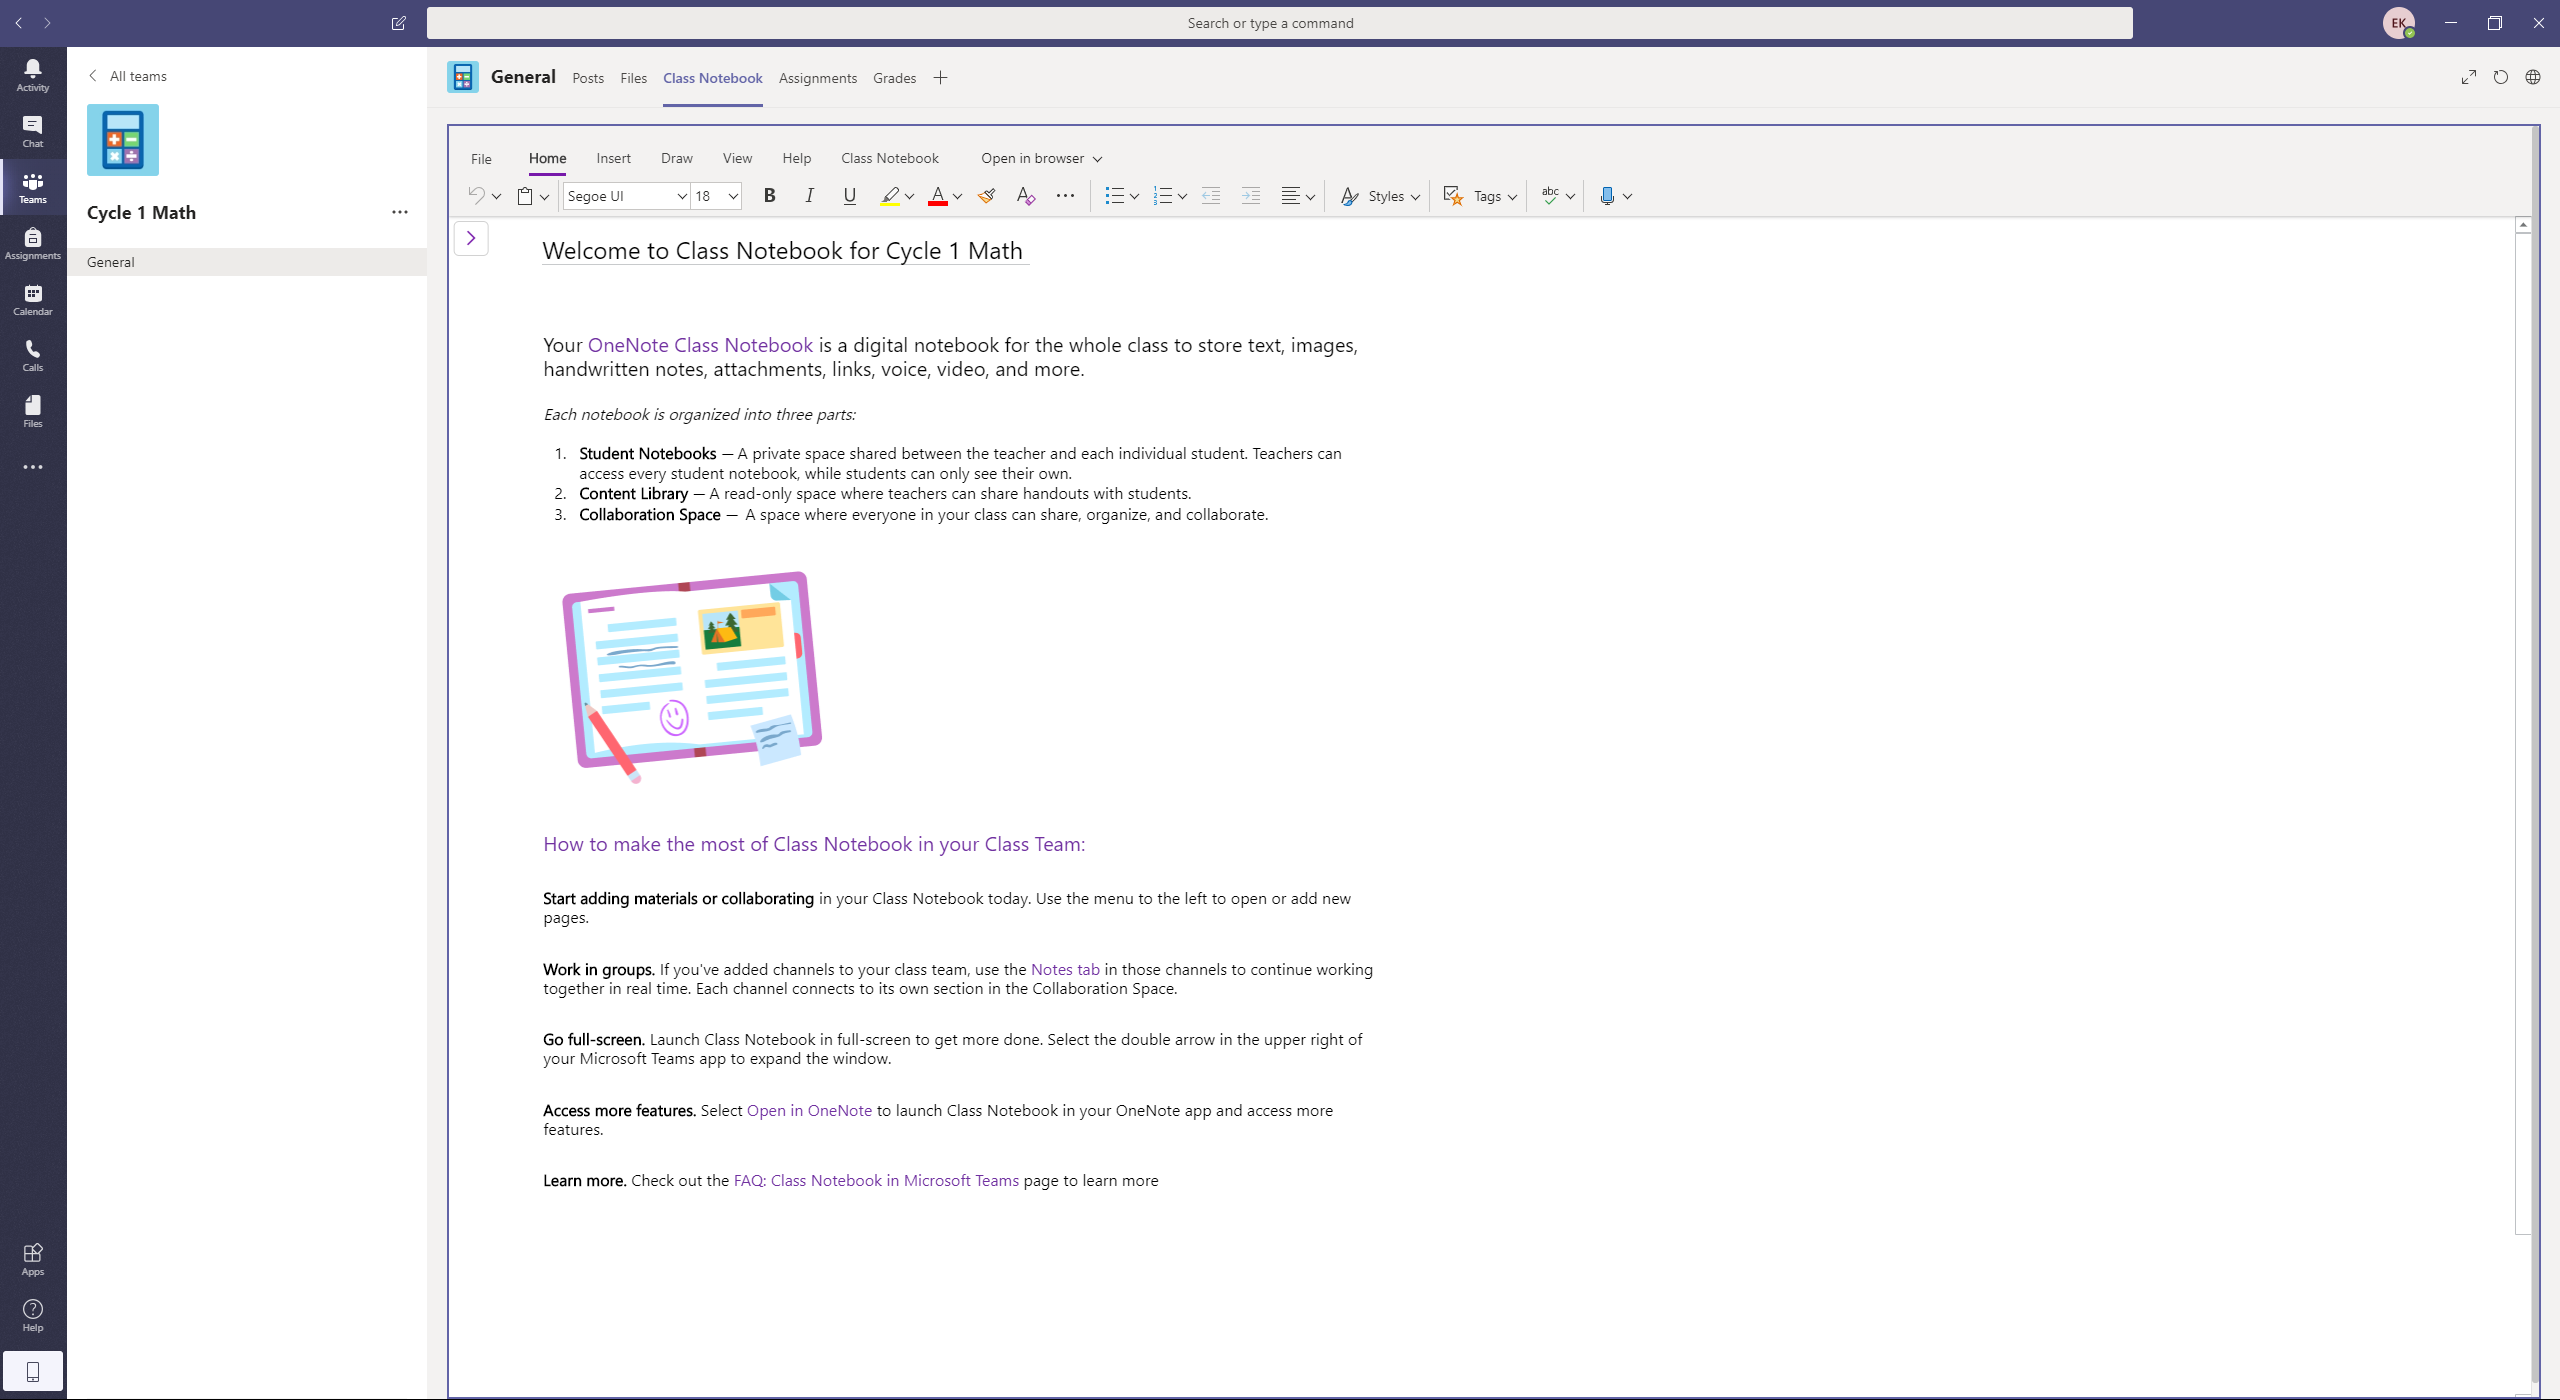
Class Notebooks and material:
The students were finally able to see their friends again on a daily basis much to their delight.
They were also assigned Quizzes and Assignments much to the delight of their parents…
References and Resources
- Training for admins – Microsoft 365 tutorials and videos
- Training for users
- How schools can ramp up remote learning programs quickly with Microsoft Teams
- Microsoft 365 Education Documentation for IT admins
- Configure Teams for Education
- Configure Teams for your school
- Family Learning Center
- Microsoft Teams not working for students